(https://ethernaut.openzeppelin.com/level/0x4E73b858fD5D7A5fc1c3455061dE52a53F35d966)
身為第0關,這一關主要帶領我們進行一些setup 及了解遊戲的操作介面(browser – developer tool – console)。
基本上照著關卡的說明一步步進行即可:
1.設定MetaMask 電子錢包:
因為基本上是模擬真實的以太坊智能合約執行,因此包括gas 費用等等都是會產生的,因此也需要有電子錢包,若還沒有的話,需要去安裝MetaMask browser extension,然後選擇’Rinkeby test network’,Rinkeby為以太坊的其中一個測試網路。
2.開啟瀏覽器的console:
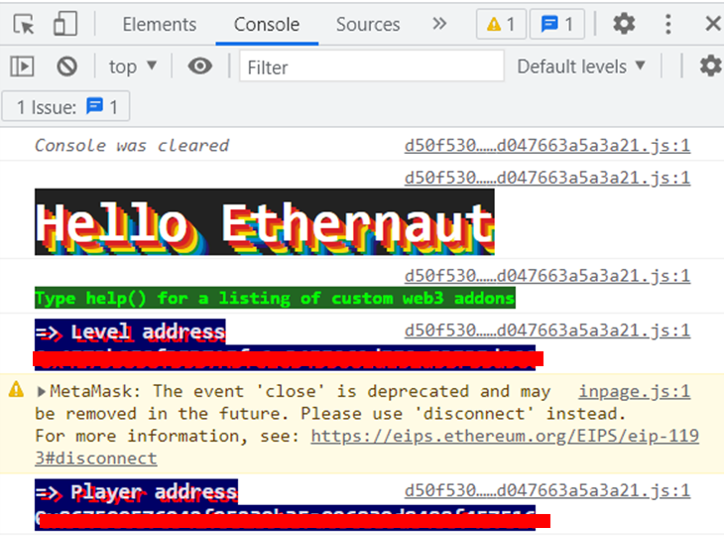
Tools > Developer Tools. (若是Chrome的話,選擇右上角的三個點,選擇更多工具,然後選擇開發人員工具,開啟後會看到類似如下圖:

3. 於Console輸入與程式互動:
輸入 help() , 然後按Enter鍵,console會列出一些function,輸入ethurnaut,輸入await ethernaut.owner(),看看console會產生甚麼~~
4. 取得一些測試網路的以太幣:
遊戲中有建議可從this, this or this faucet. 這些地方取得測試網路的以太幣
5.取得此關的 level instance:
拉到遊戲頁的最下方,點Get new instance

6. 跟合約(instance) 互動一下:
於console 輸入 await contract.info(),按Enter後系統會提示一行訊息,跟著提示往下輸入即可;完整輸入如下:
await contract.info();
await contract.info1();
...
await contract.password();
await contract.authenticate("[password here]");
await contract.getCleared();
7.過關:
submit instance!
這關主要就是安裝環境跟熟悉介面
*名詞解釋
- abi: application binary interface,Solidity 跟Javascript的溝通介面,為JSON format。
- gas費用: 每在以太坊上執行的每一筆transaction都會收取一定量的以太幣作為收費。
取得測試以太幣中的第一個網址:https://faucet.rinkeby.io/ 目前是offline的狀況,因此建議直接用第2或第3個link